Bicycle Upkeep Through The Winter
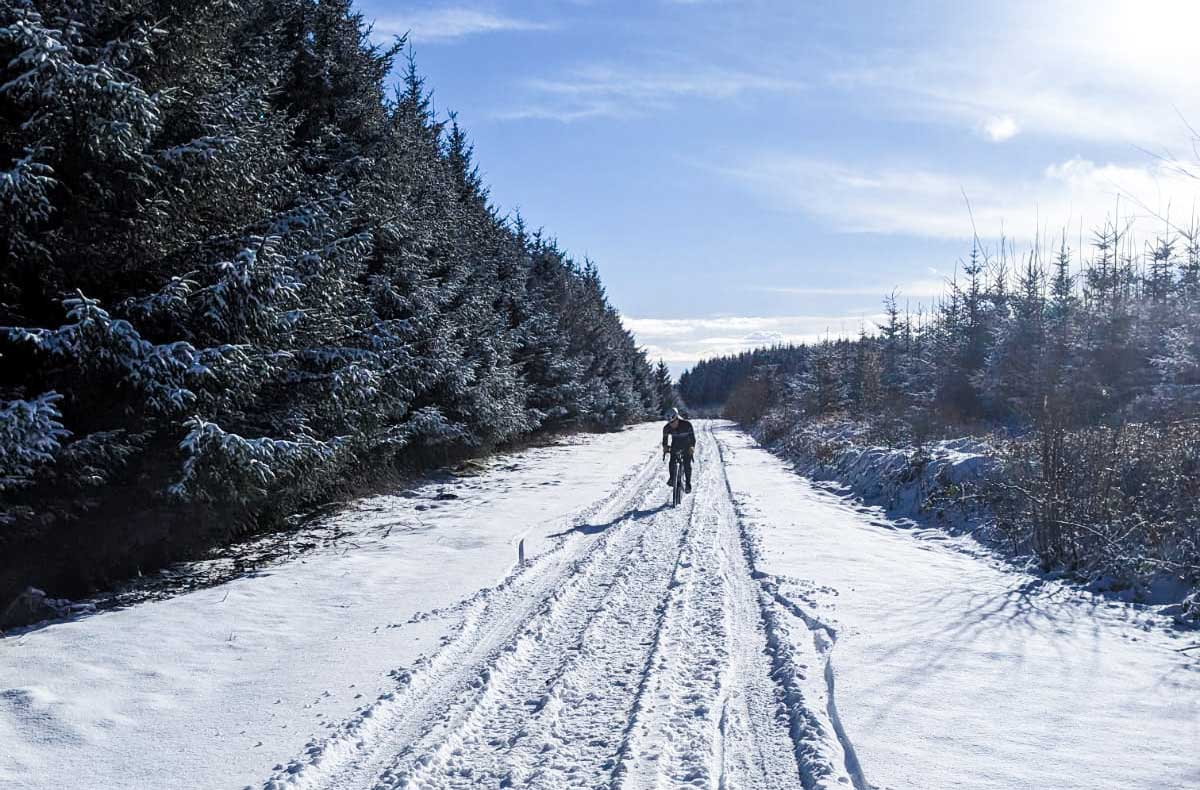
Perhaps you’re a toughened all-weather rider, cherishing the feeling of overcoming the cold winter bite, or perhaps you’re a pain cave Zwifter, reserving your outdoor winter riding for bright sunny days. Whether you’re either end of the scale or somewhere in between, you will know all too well winter riding takes its toll on your beloved bike. We also all know there are few things worse than that sometimes faint, but more frequently; embarrassingly loud, audible complaint from your steed in the form of a creak, clonk or full-on clattering cacophony.

You may have heard the phrase ‘winter miles make for summer smiles’, but it only rings true if your bike isn’t a groaning mess when the sun finally shows its face. We’re therefore here to give you a few tips to keep you rolling smoothly, quietly and hopefully keep those maintenance fees to a minimum.
We’ve broken our guidance down into five sections. If you read only one, delve into Cleaning and the rest will often look after themselves.
Cleaning | Brakes | Gears | Drivetrain | Bearings
Don’t forget, even if you only ride your bike on an indoor trainer, it still needs a clean every once in a while. Your sweat is highly saline (salty) - an ideal solution for accelerating the corrosion of parts and your paintwork. Equally, your chain needs re-lubricating following any significant use (even when dry) and benefits from a clean in between rather than just layering fresh chain lube on top of old.
Cleaning | Be Regimented!
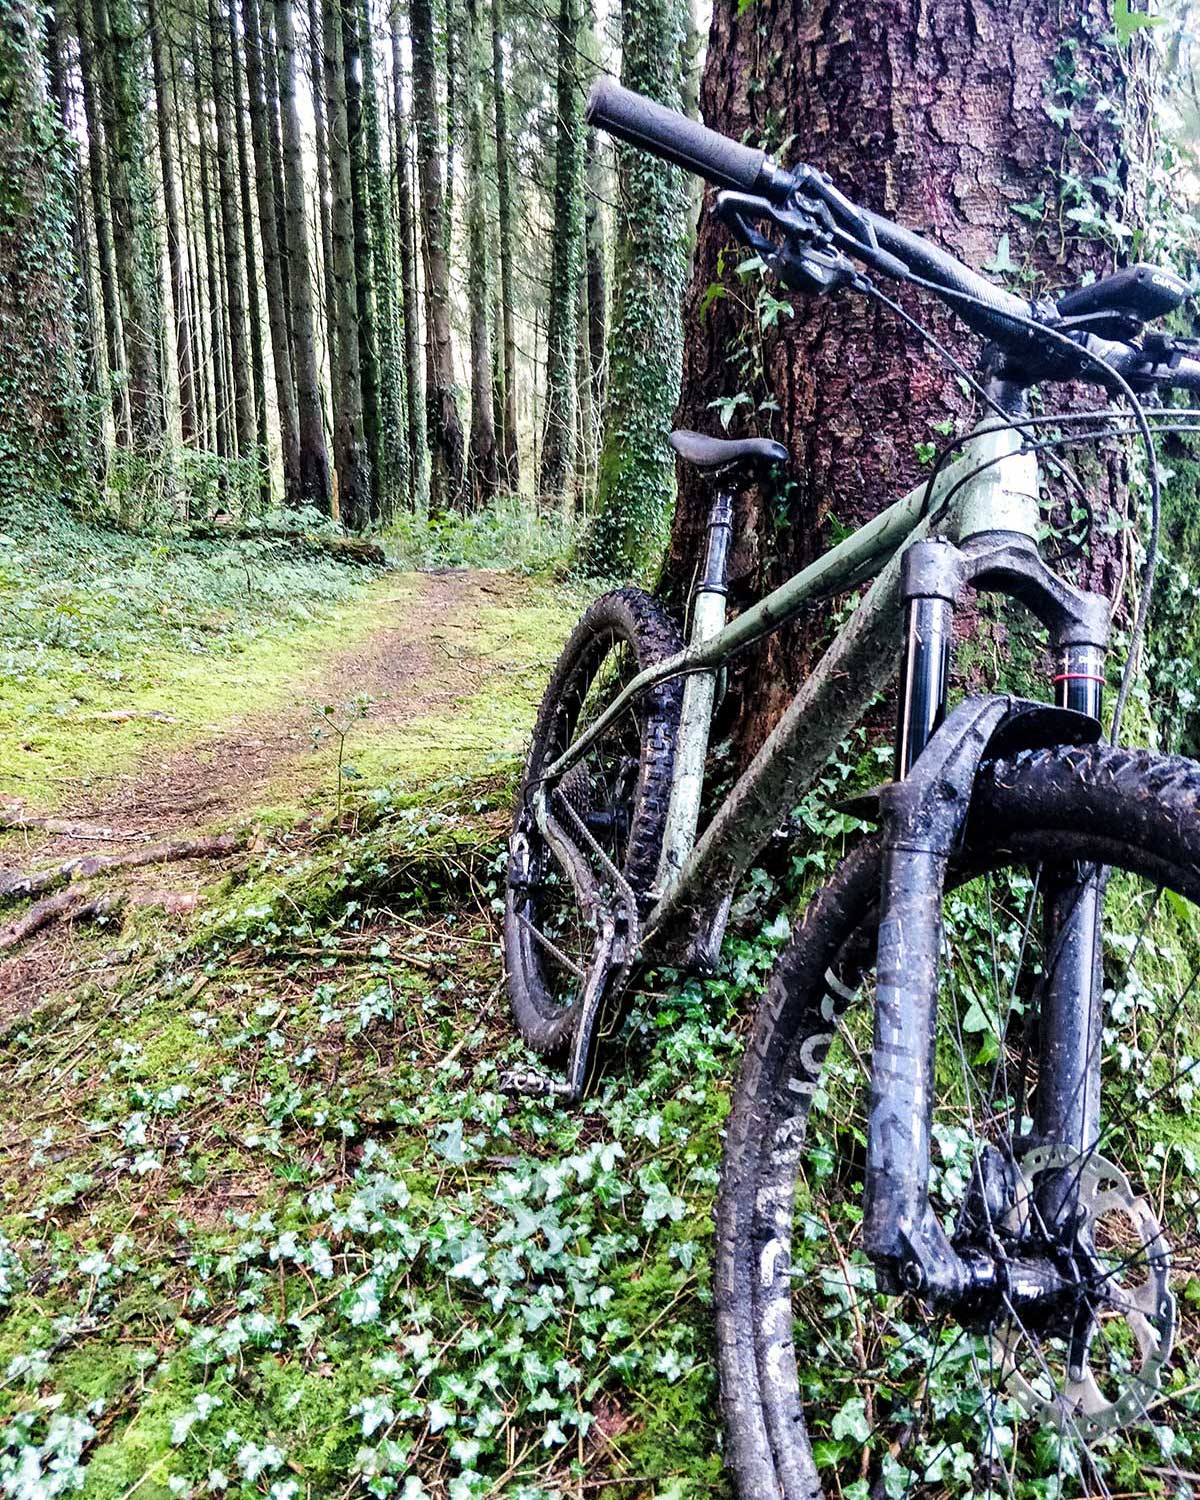
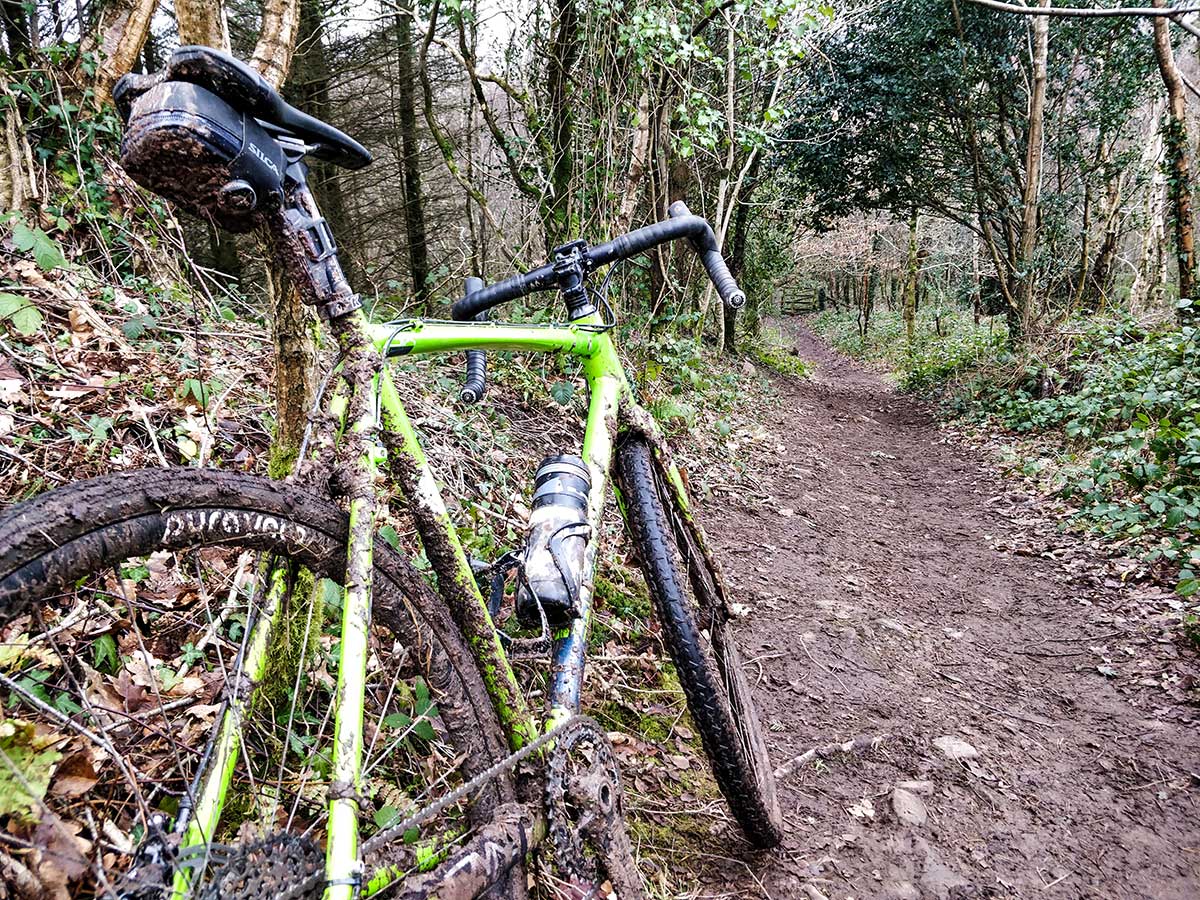
It is incredibly rare to get through a UK winter ride without touching, or more likely getting plastered in some form of grit, grub or grot! Most of that grub will contain some level of road salt - any metal components worst enemy.
The absolute best thing you can do for your bike is to be strict and only put it away clean.
Of course, everyone has different standards for what counts as ‘clean’. The biggest pitfall many fall into though is assuming if the frame is clean, the job is done. In reality, other than looking good, this does very little for the upkeep of the parts which will ultimately cost you money when needing replacement.
Instead, focus your attention on the parts of the bike which move: the drivetrain (chain, cassette, chainset), wheels, headset, bottom bracket and brake calipers. Hold on though - overzealous cleaning has the potential to do harm too... we’ll run through the common methods of cleaning below and the things to avoid.
Hose, Rag and Dry | Preferred Method
This method is quick, simple and provided you wash your bike regularly and use a good chain lube, you should get away without needing much in the way of special cleaners to stay grime free.
Technique - a bit of hose pressure to blast off any grit and mud, a good all over rinse, then a dry off with a rag / old towel. Don’t forget to focus a blast through the chain as your pedal the cranks backwards to clear any grit and salt out of there.
If you’re starting with a filthy bike though, either grab some regular washing up liquid or better yet, invest in a decent quality bike cleaner to help initially clear any build-up of grime. If you opt for washing up liquid, just be aware most contain a small amount of salt. You’ll therefore want to rinse down your bike after use to remove any residue.
Bucket, Rag and Dry
We don’t all have access to a hose, so for those in this boat; invest in a bucket. You can get collapsable to flat ones if you’re tight on space. You can avoid the temptation to skip the clean by filling it and leaving somewhere handy for when you get back before you go out for your ride.
Technique - use one rag in the bucket to rinse the bike off. Use the other dry rag to then wipe down and dry off. Don’t forget your chain and cassette in this process.
Pressure Washer / Jetwash | Be Careful!
We get that cleaning your bike by hand can seem tedious. Unfortunately though, cleaning your bike with high powered jetwashes is a very quick route to over cleaning and stripping important greases. To give some perspective; a hose will provide 1 to 2 bar of pressure. In contrast, even an inexpensive pressure washer can produce over 100bar of pressure - this is the equivalent to being 1000m underwater!
The weather seals on all of your bearings (hubs, headset, bottom bracket and jockey wheels on high-end derailleurs) are not designed for these massively high pressures. Once water gets inside, it’s only a matter of time before it mixes with the greases and leads to them breaking down; allowing more dirt ingress and exposing your bearings to oxygen, causing them to rust. Put simply, if you want to avoid extra maintenance, avoid using a jetwash.
However, we understand that for many, life is simply too short for not using the tools which will make the job the quickest it could be. If you, therefore, insist on using one, just prepare yourself for the fact that your bike will need more regular servicing and/or parts replacing. You can mitigate this slightly by getting a relatively low-pressure washer. There are battery-powered ones available which give ample pressure for cleaning a bike, but reduce the risk of forcing water into places it doesn’t belong. Look for maximum pressures produced in the order of 20 bar.
Whatever you do, avoid blasting your bearings (hubs, bottom bracket, headset or pedals) in order to keep that grease inside and water out.
Once Clean & Dry | Chain lubrication
Once dried by either bringing the bike inside for a while or running the chain through a dry rag, don’t forget to put some fresh chain lube on your chain. This only needs to be a light touch to avoid ending up clogging up your cassette and derailleur over time.
Some chain lubricants are much stickier than others and will resist being washed off without degreasers. While this may seem like a good thing, it often leads to a thick buildup of gunk in your cassette over time. We, therefore, recommend a decent lightweight lube. Our current personal favourite is Peaty’s Wet Lube, but GT85 is a handy alternative. With any spray lubricants, you need to be particularly careful to avoid plastering disc brake rotors or wheel rims in the process though.
Brakes | Watch for Pad Wear
Our top tip for brake upkeep is to avoid touching rotors or brake tracks with your hands. Our skin is oily and by handling brake surfaces we end up contaminating them. This is a very common source of annoying squealing brakes! Instead, clean with water only or if needed when cleaning the rest of the bike, a brake friendly cleaner.
As for the calipers…
Disc brakes
Avoid cleaning with anything other than water or very mild detergents, but do make sure to clean them. Inside your calipers are two or more moving pistons with o-ring seals. If these are allowed to clog up with grit and grime, they will stop returning properly after braking and you can end up with poor performing brakes and/or dragging rotors. This is the common root cause to that annoying sound of your rotor rubbing.
If you do end up with a sticky caliper, you should remove your brake pads and clean with rubbing alcohol or plenty of water. You can even use a paper cotton swab or similar to provide precision cleaning to the pistons.
Keep an eye on brake pad wear. Allowing the pads to wear down to the bare metal will lead to damage to your rotors and drastically deteriorate brake performance. Most disc brake pads can be replaced very quickly, easily and inexpensively.
Rim Brakes
These can be cleaned the same as the rest of your bike. Keep an eye out for any signs of rust on the reverse side of the caliper (where the springs reside) and give them a small bit of light grease every now and again.
Make sure to keep an eye on your brake pad wear too. While pads may look like they have a bit of life left, often it is only the top portion of the compound which is actually designed for brake use. The lower levels are much harder and will lead to accelerated wear of your precious rims, especially when combined with the grit of winter. Replacing your own brake pads is a really easy and valuable skill to learn, but if in any doubt have a competent mechanic at your local bike shop sort them quickly and easily for you.
If your caliper ends up sticking it will be due to either needing the cabling replacing or the caliper pivots seizing. By undoing the cabling and operating the caliper by hand you can quickly tell which of these is the root cause. Only attempt this if you are confident in your ability to set your brakes back up of course.
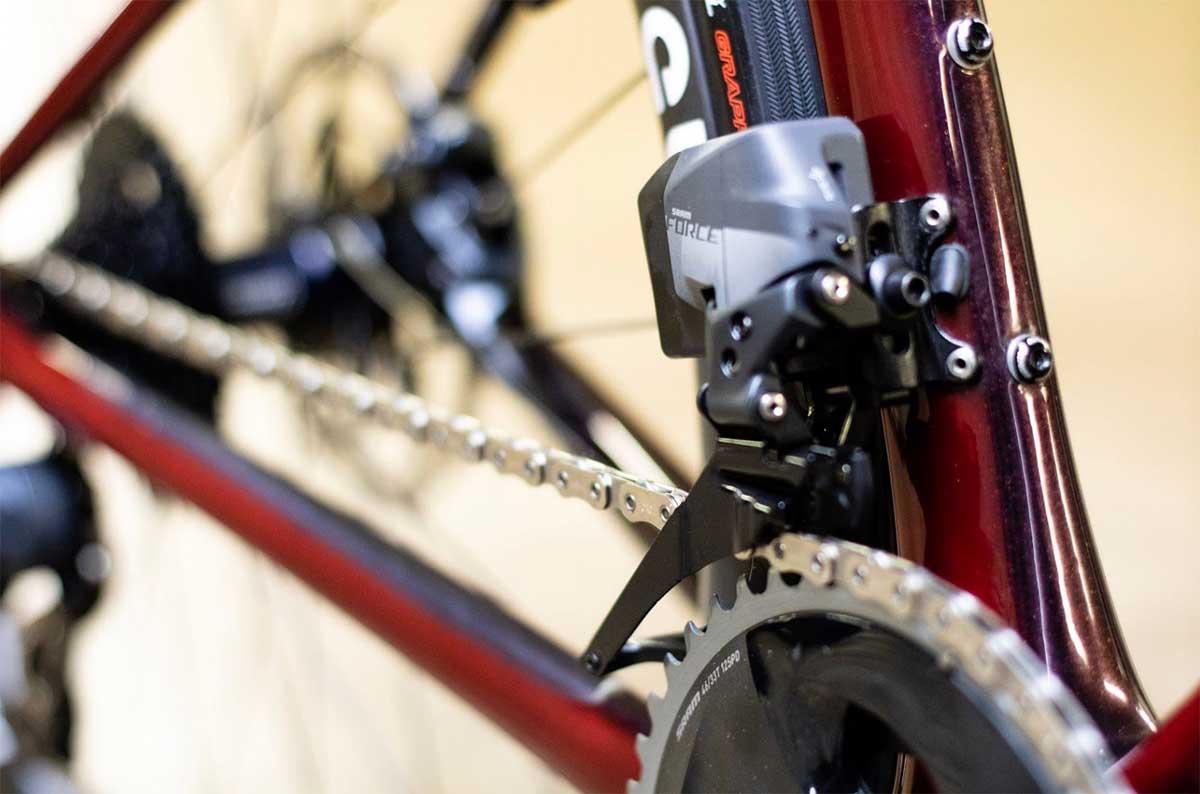
Gears
Electronic Gears
If you have electronic gears, you can skip this section as winter riding only really specifically affects mechanical cables. If you’re having issues, it’s likely to do with the setup rather than winter wear though do keep derailleur pivot points clean and lubricated as part of your cleaning regime.
Mechanical Gears
For those with mechanical gears, you’ve probably experienced at some stage a range of slightly noisier, skipping or full-on lack of shifting. More often than not, this is caused by grit getting in between your cabling and the housing it runs within. Equally, if water gets in, even stainless steel cables will eventually corrode enough to cause friction. There are cables today with hydrophobic coatings (like Teflon or HDPE) which will extend their usable life even further though.
Our advice is to fit the best cables you can afford to your winter bike. If your budget can cover them, our go-to option is either Transfil Black Snake or better yet, Transfil Flying Snake. Both are a great option for really long life, irrelevant of the weather and riding conditions.
If replacing the cabling (inner and outer) doesn’t solve the problem, your derailleurs may be seizing. Each has a number of pivot points which benefit from a touch of lubricant every now and again. This usually frees them up very quickly and effectively.
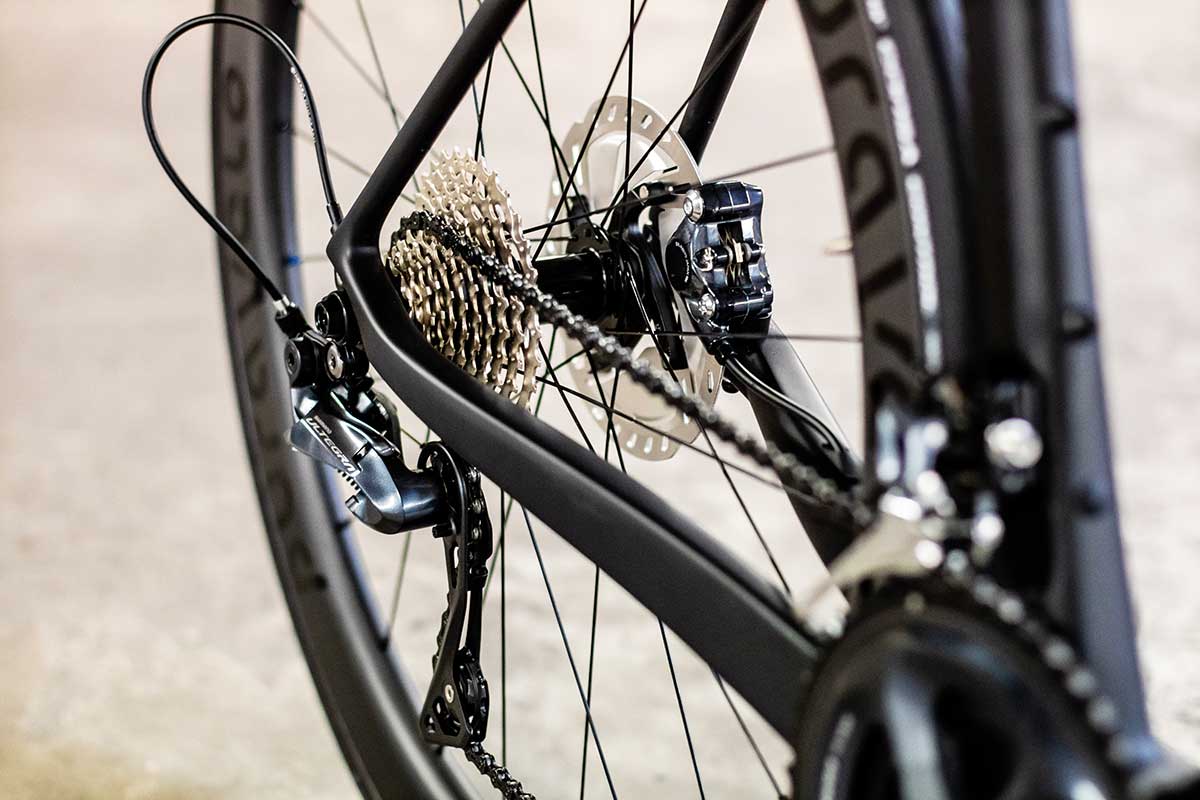
Drivetrain
The biggest detriment winter riding, whether outdoors or indoors, has to your bike is to the drivetrain.
Chain wear
On each of the pivots of your chain is a small bushing (sleeve to each pin to allow rotational movement). Over time these wear and smalls gaps open up, causing your chain to ‘stretch’ in overall length.
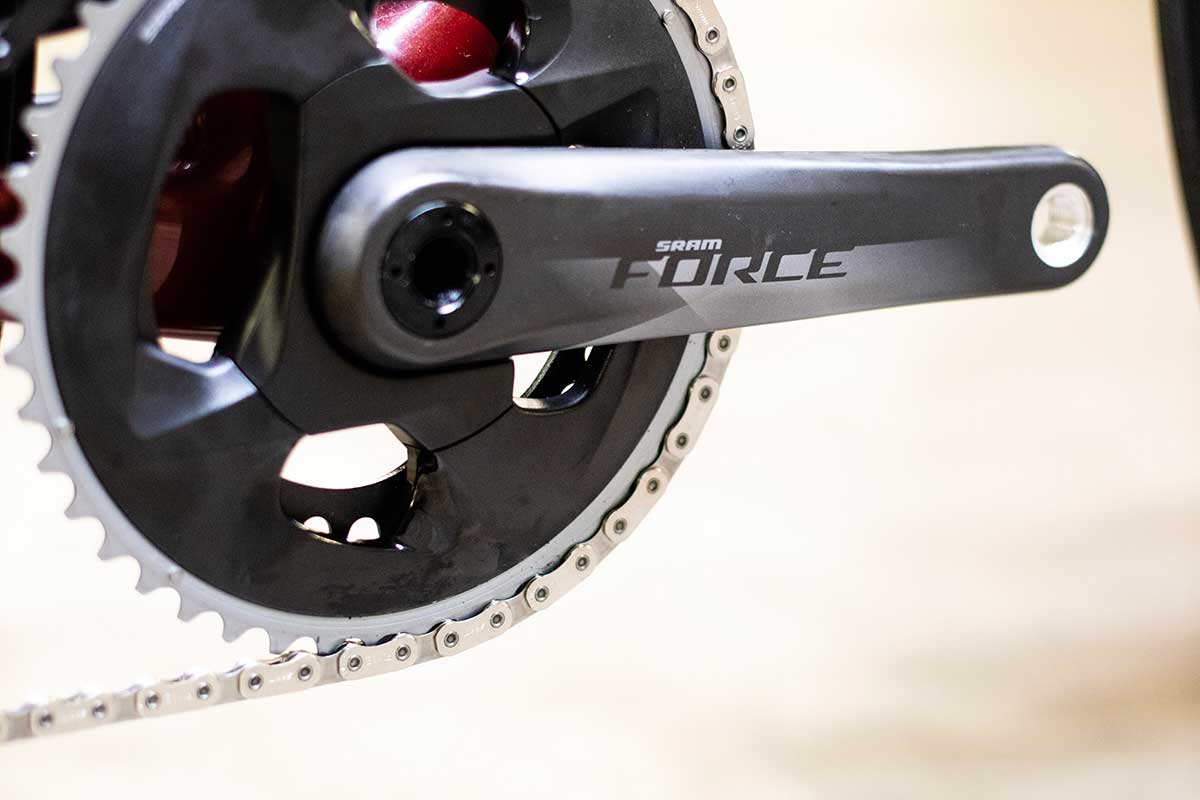
Cassette / Chainring wear
In turn, the chain meshes differently to how it was designed with your cassette and chainset. This causes them to wear more quickly.
With winter you throw a load of grit into this process, inevitably accelerating it. The best way to mitigate and slow this effect is to keep your chain clean and lubricated.
One very small and inexpensive tool worth adding to your toolkit is a chain wear gauge. This provides a quick visual guide to how stretched (and worn) your chain is as a percentage. Ideally, you should aim to replace the chain as it reaches 0.8% stretch in order to avoid needing to replace your cassette at the same time. Your chainrings are much bigger and made of sturdier stuff, therefore require replacing even less frequently provided the rest of the drivetrain is maintained. With the ever-increasing costs of chainrings and cassettes, the relatively low cost of chains makes this is a very worthwhile undertaking.
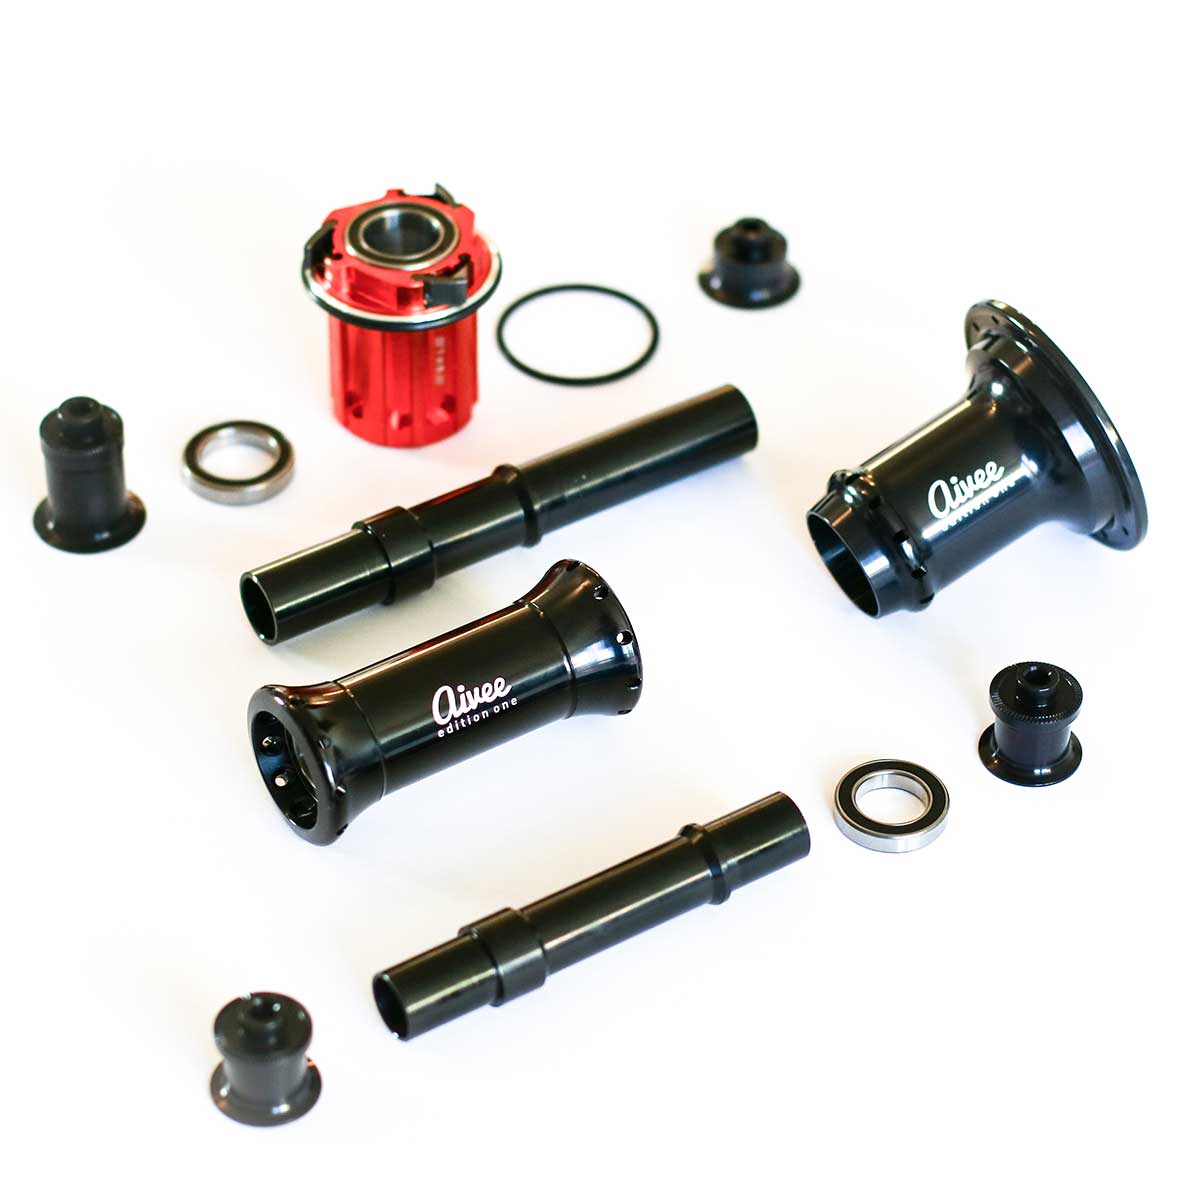
Bearings
Your hubs contain the bulk of your bike's bearings, but they’re also present in the bottom bracket, headset and on some bikes the rear derailleur. A full-suspension mountain bike of course has them all over. Most brands these days use sealed cartridge bearings. Each cartridge can cost between £4-20 (or considerably more if you got for ceramic). You will likely have 6 cartridges across your hubs, 2 in the headset and 2 more in your bottom bracket. To replace the lot you can therefore easily end up looking at a bill in excess of £100. They’re therefore well worth looking after and trying to extend the life of where possible.
We’ve discussed in the Cleaning section why to avoid using pressure washers, but we also recommend avoiding the use of any stringent degreasers/chain cleaners. While they’re incredibly useful things if you’ve allowed your bike to build up a thick layer of grime, they will inevitably work their way into your bearings elsewhere on the bike in the process. While each of these bearings will be sealed to some extent, without care or caution, you can quickly and easily strip the grease from within, leading to their premature demise.
If you can, instead wash the bike regularly with only water or very mild detergents, but more importantly, have the bike serviced regularly and undertake or request a regrease of the bearings. Rather than having to replace the bearings, the mechanic can then simply clean out the surrounding old and contaminated grease and replace it with fresh water-resistant grease.